This page describes the install of the Beltronics /Escort / Passport Smart Cord in a 2008 Acura TL. The process will be the same for all 2004-2008 models including the TL-S (TypeS) models.
The install began with locating the end that connects to the detector. I left ample cord up at this end since it can be easily tucked away under the housing for the HomeLink and lighting.
I ran it across the top of the headliner, tucking the wire behind the headliner with a plastic trim tool. I have both of these sets- either will work.
Harbor Freight Nylon Pry Bar Set – 4 Piece
harbor Freight 5 Piece Auto Trim Set
Once I reached the A pillar I followed the seam between the A pillar and the headliner, tucking the wire with the same plastic tools.
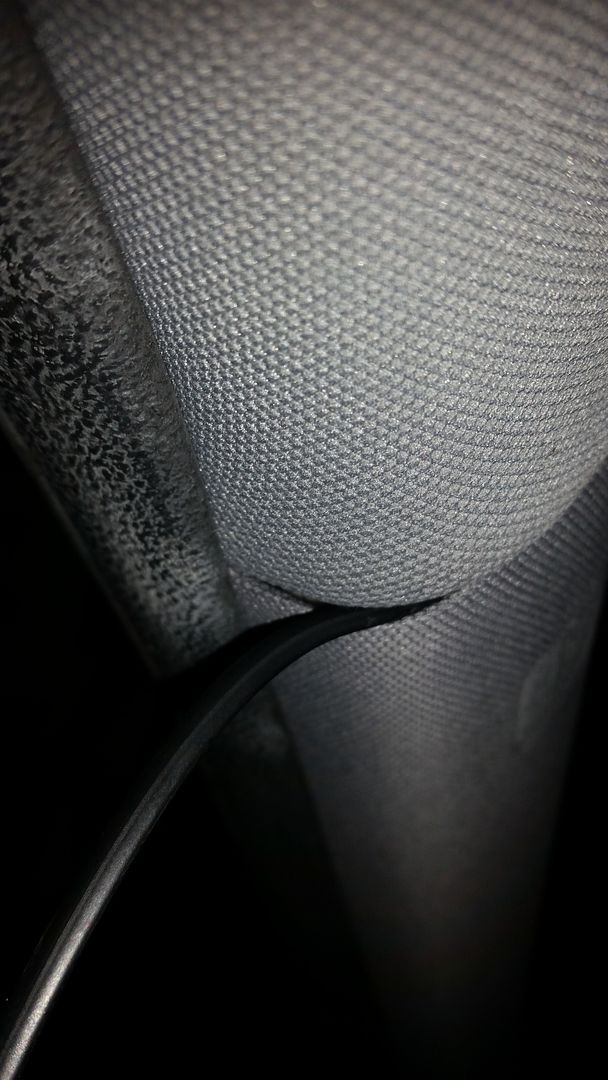
I crossed the A pillar at the top and used the trim tool to create a gap between the A pillar trim and the door weatherstripping.
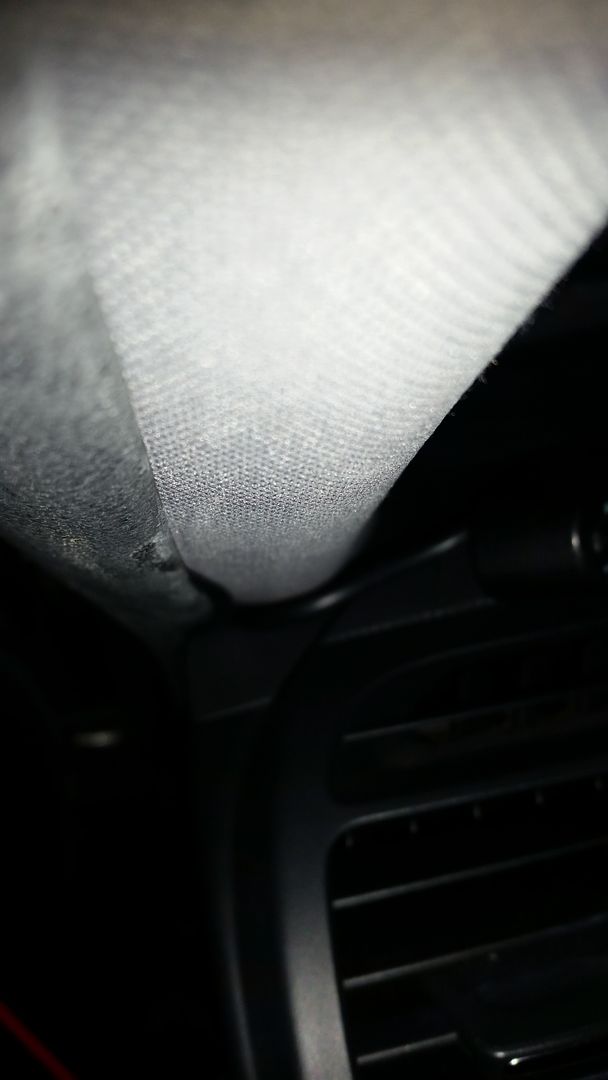
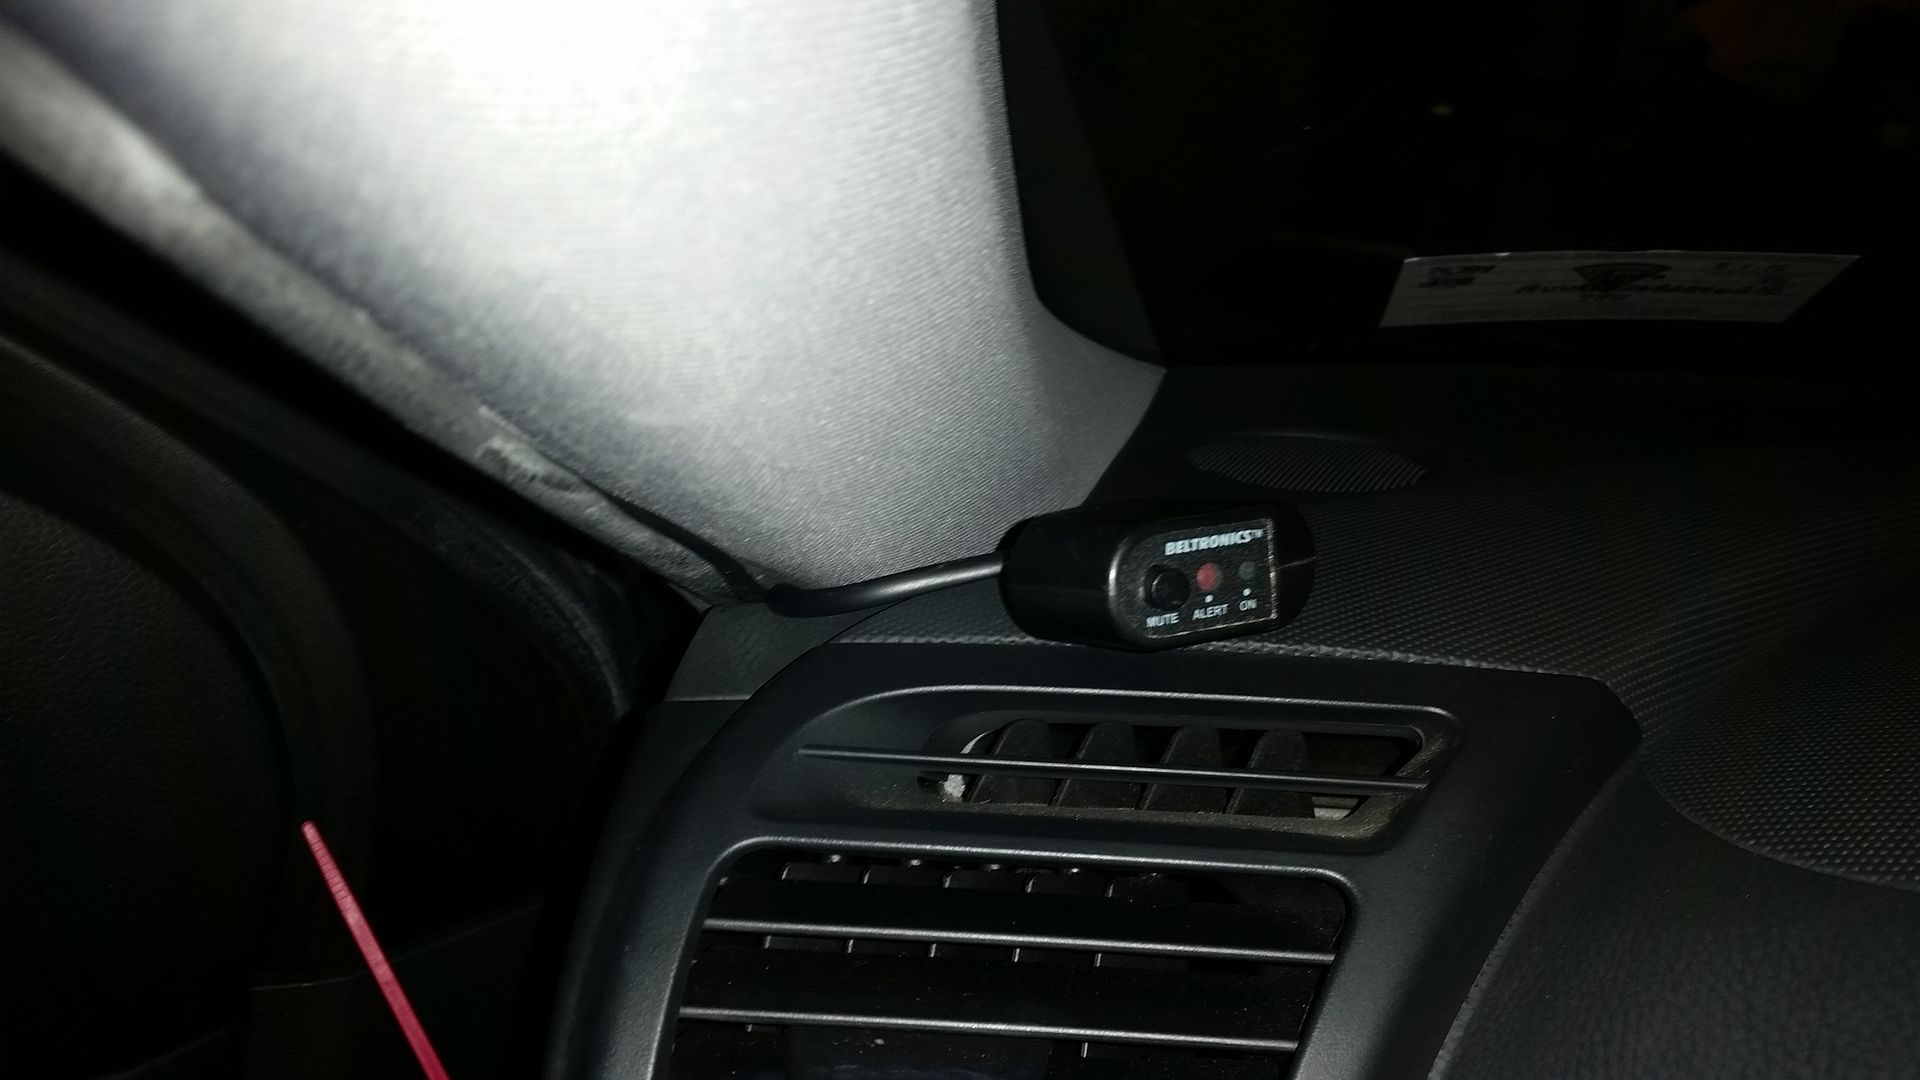
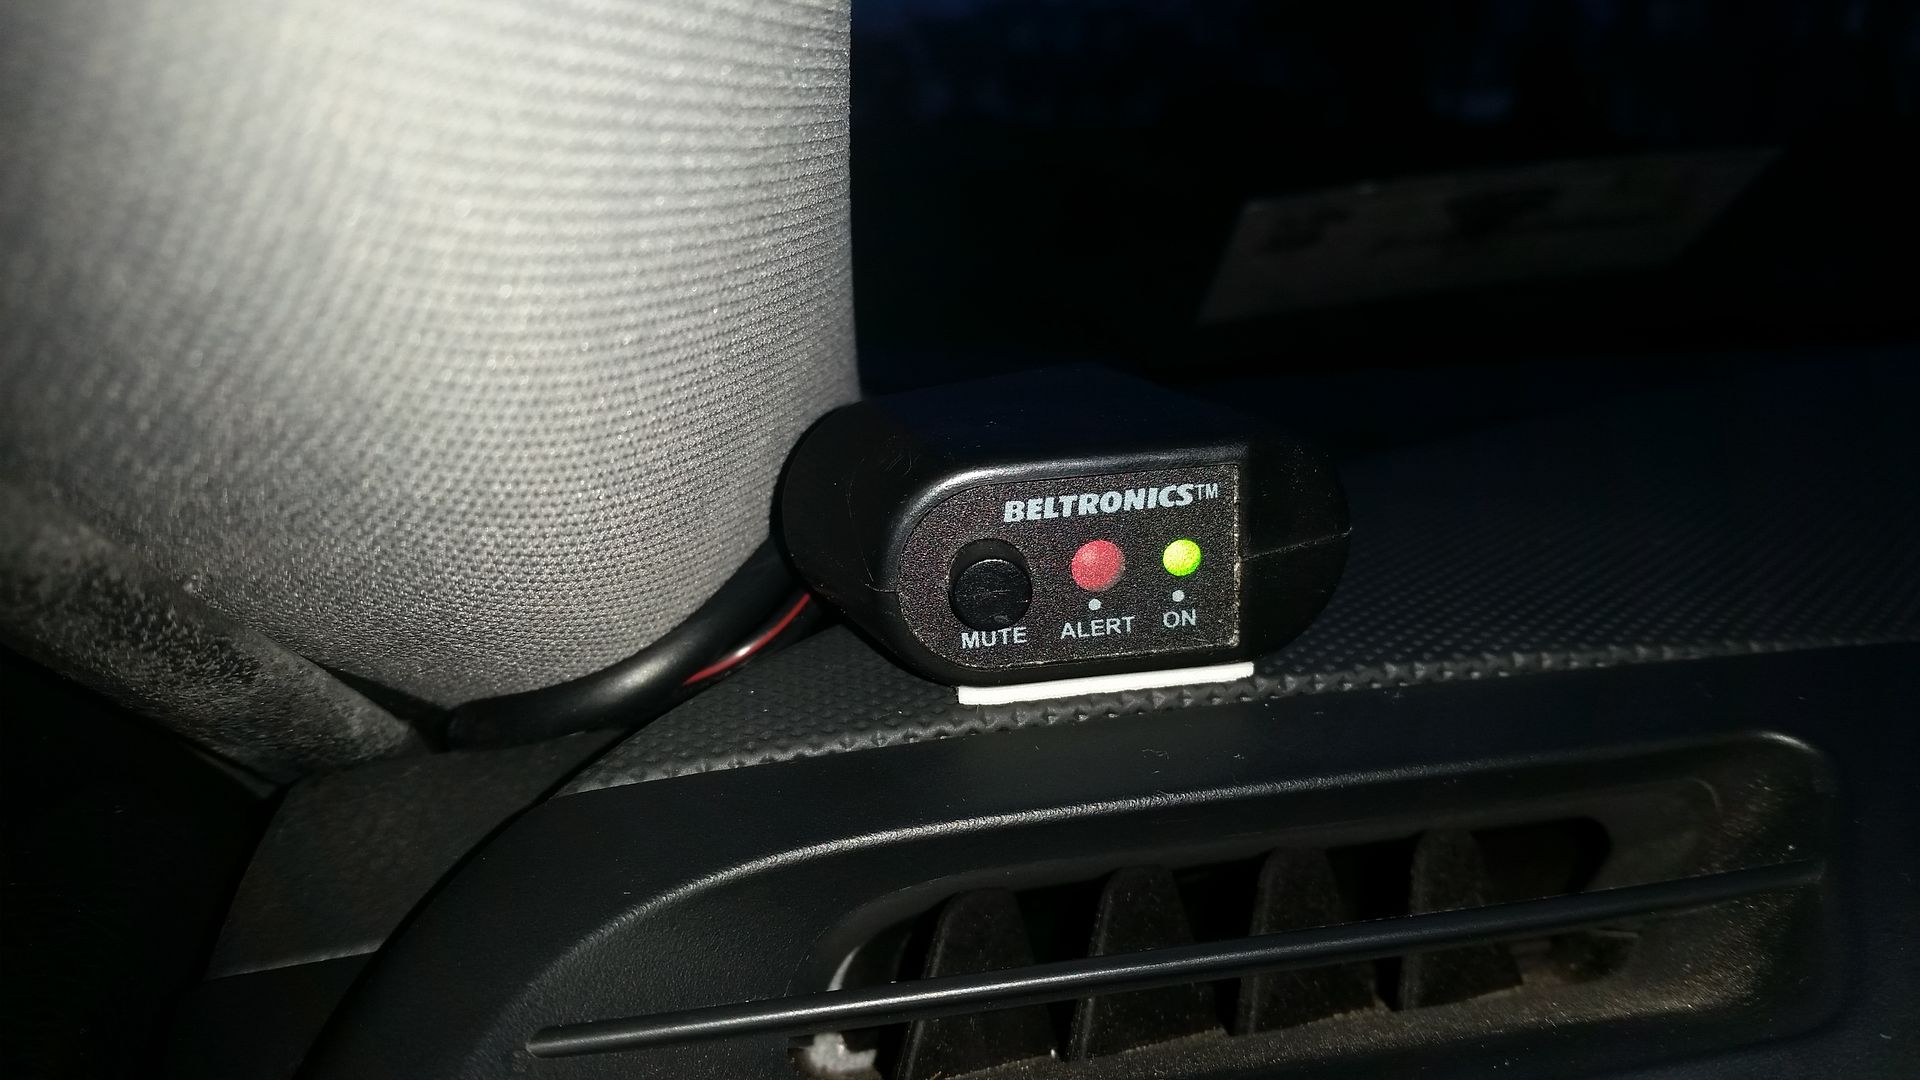
I used this location for the display/mute button because it is out of the way but easy to reach. The lighting warning is easily visible in peripheral vision without being right in line of sight. (Note: display not secured in this photo.)
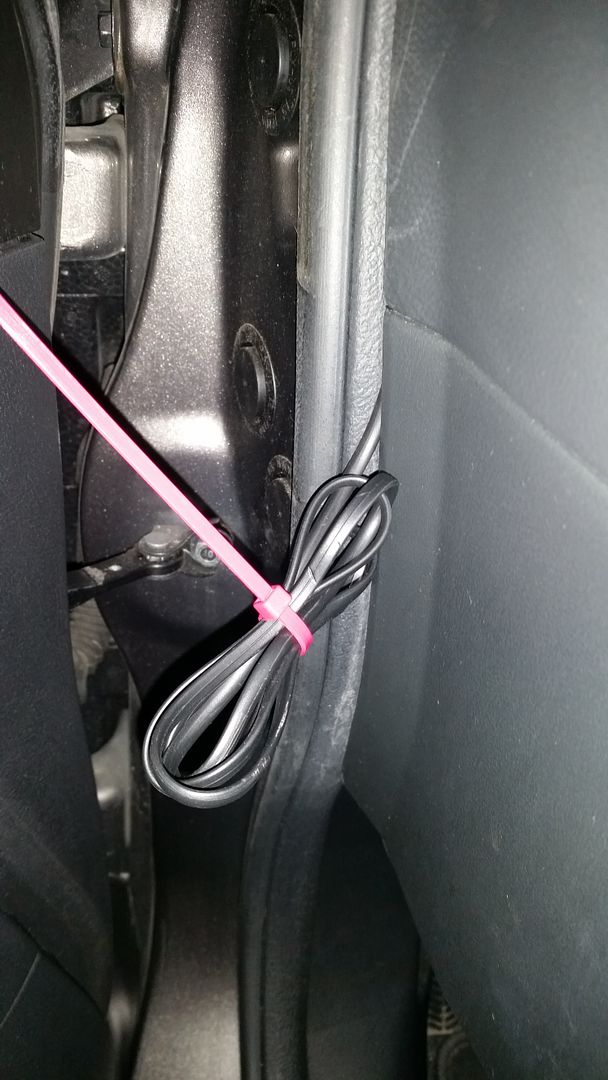
I brought the excess signal cord down beside the dash and bundled the excess with a zip tie. It took some time (working carefully) to get the bundle behind the dash but it tucked away after a few minutes. Using a zip tie made it harder to stash but eliminated the chances of the cord dropping down and becoming a tangle hazard in the footwell.
I had trimmed off the excess zip tie before stashing it.
I used the same seam to stash the power cord, which is smaller and had no trouble tucking away. The cord ended up in the footwell near the fuse box.
I then grounded the unit on the brake bracket bolt. I tested the location to be sure of a good ground (in the event that the bracket was somehow isolated from the frame) and the voltage was strong.
I used an M8x1.25 nut and went right over the existing nut on the bracket.

I then routed the 12V+ to the fuse box:
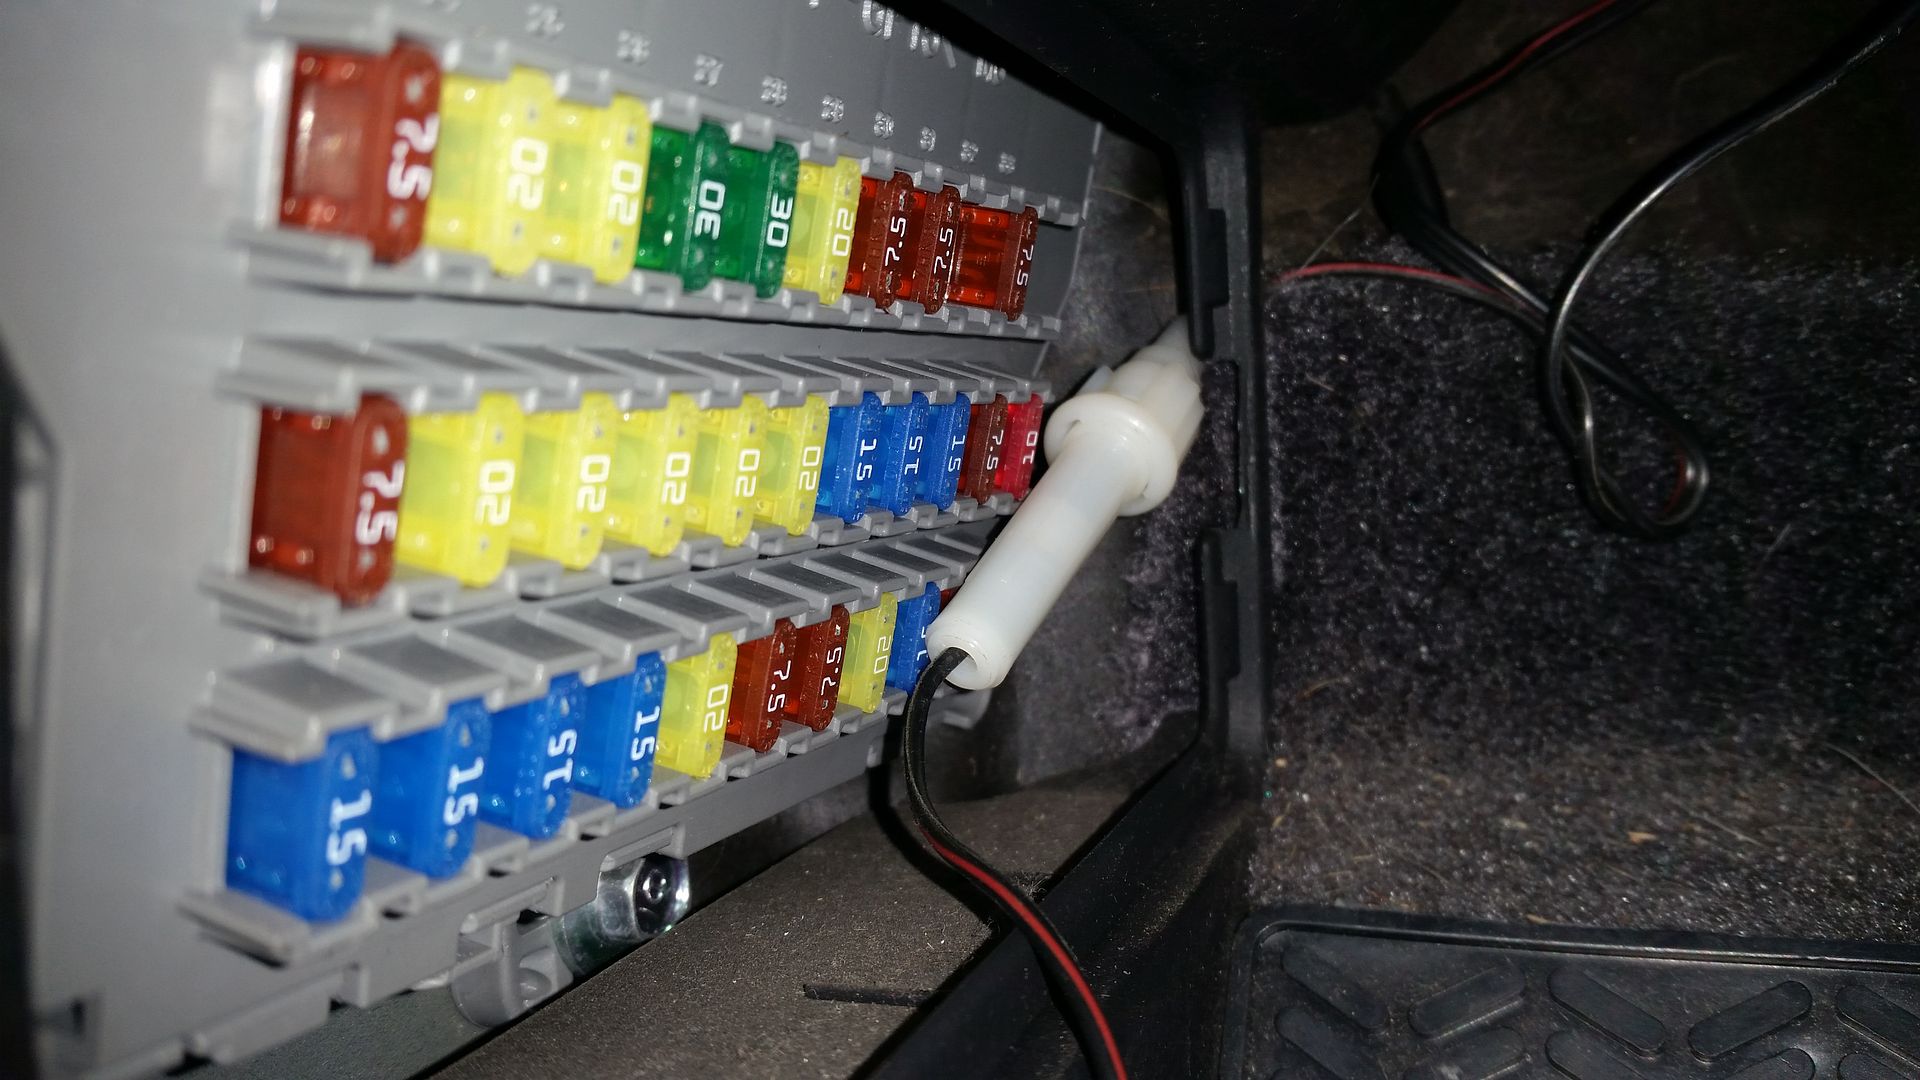
Using a mini fuse tap, I found a vacant slot in the fuse box and inserted the tap. had all ports been full I could have used the “piggyback” option in the tap but there were 2 empty slots.
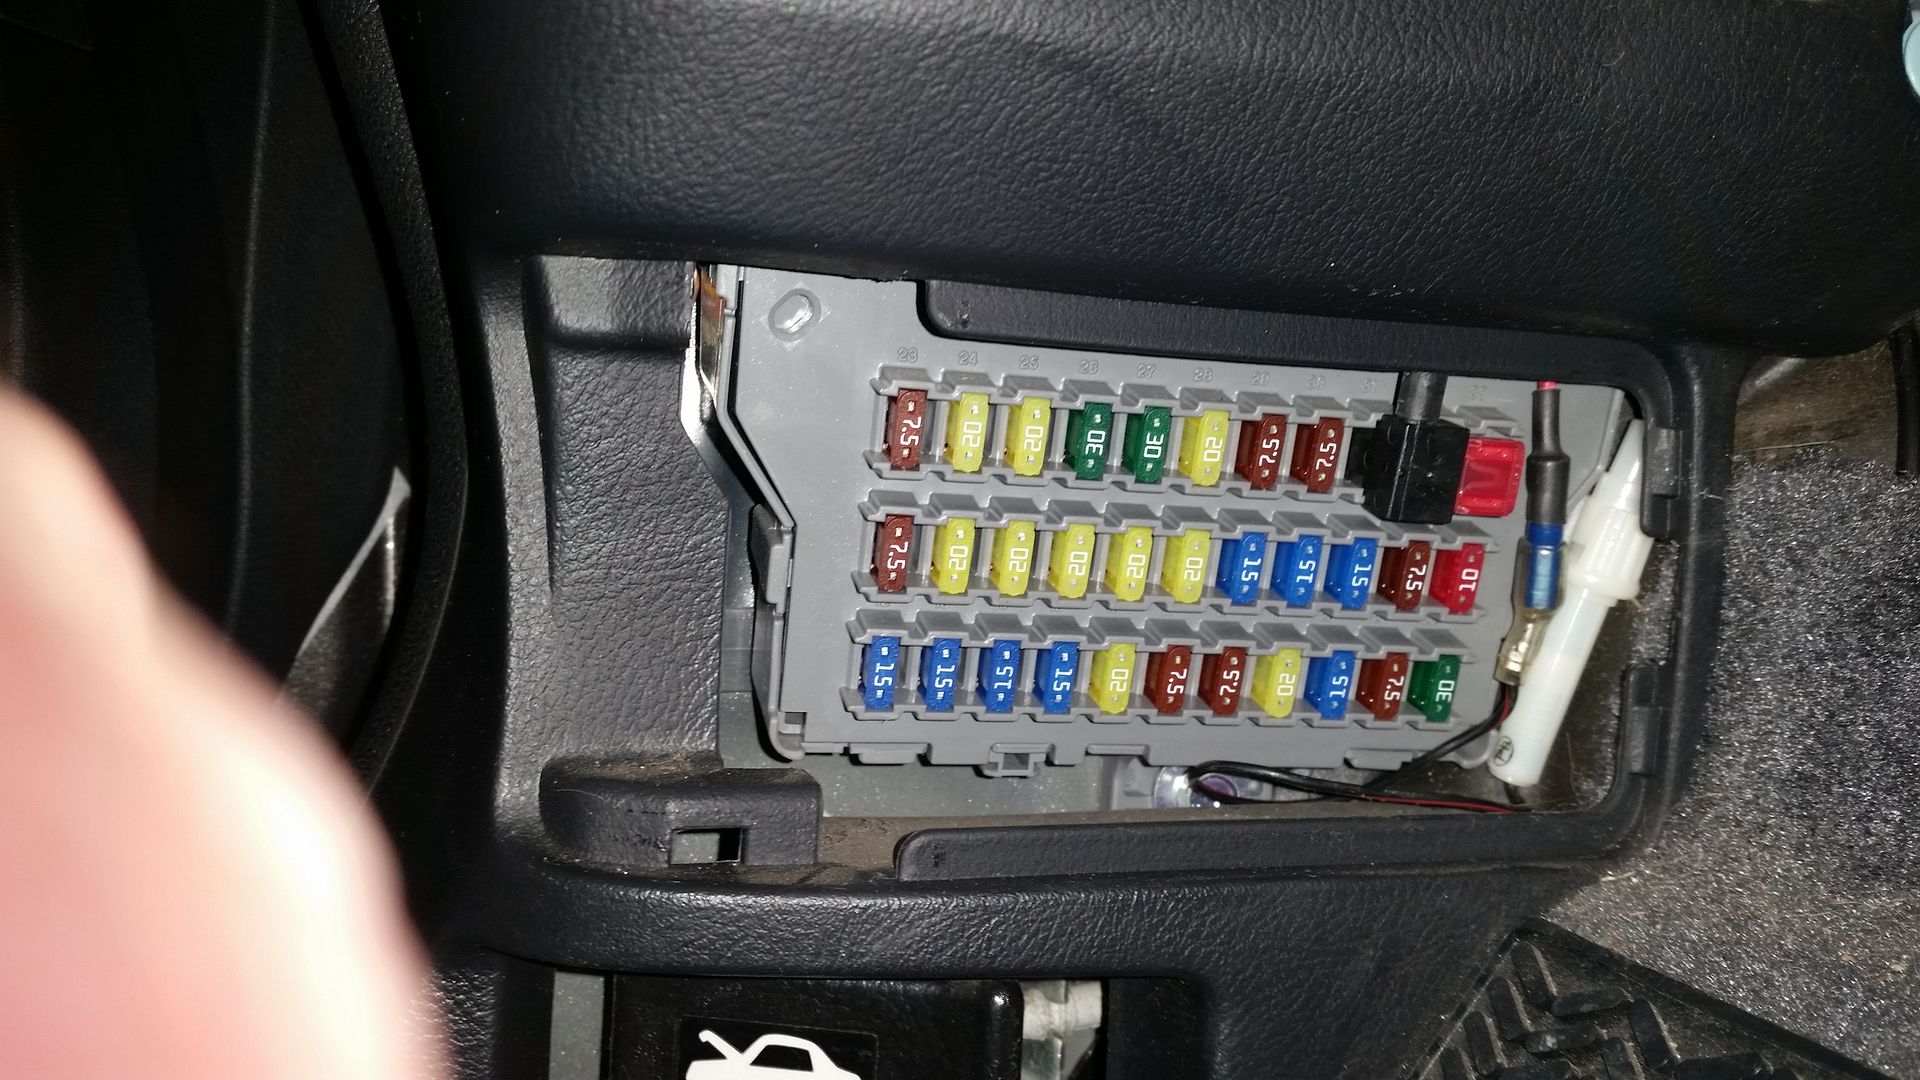
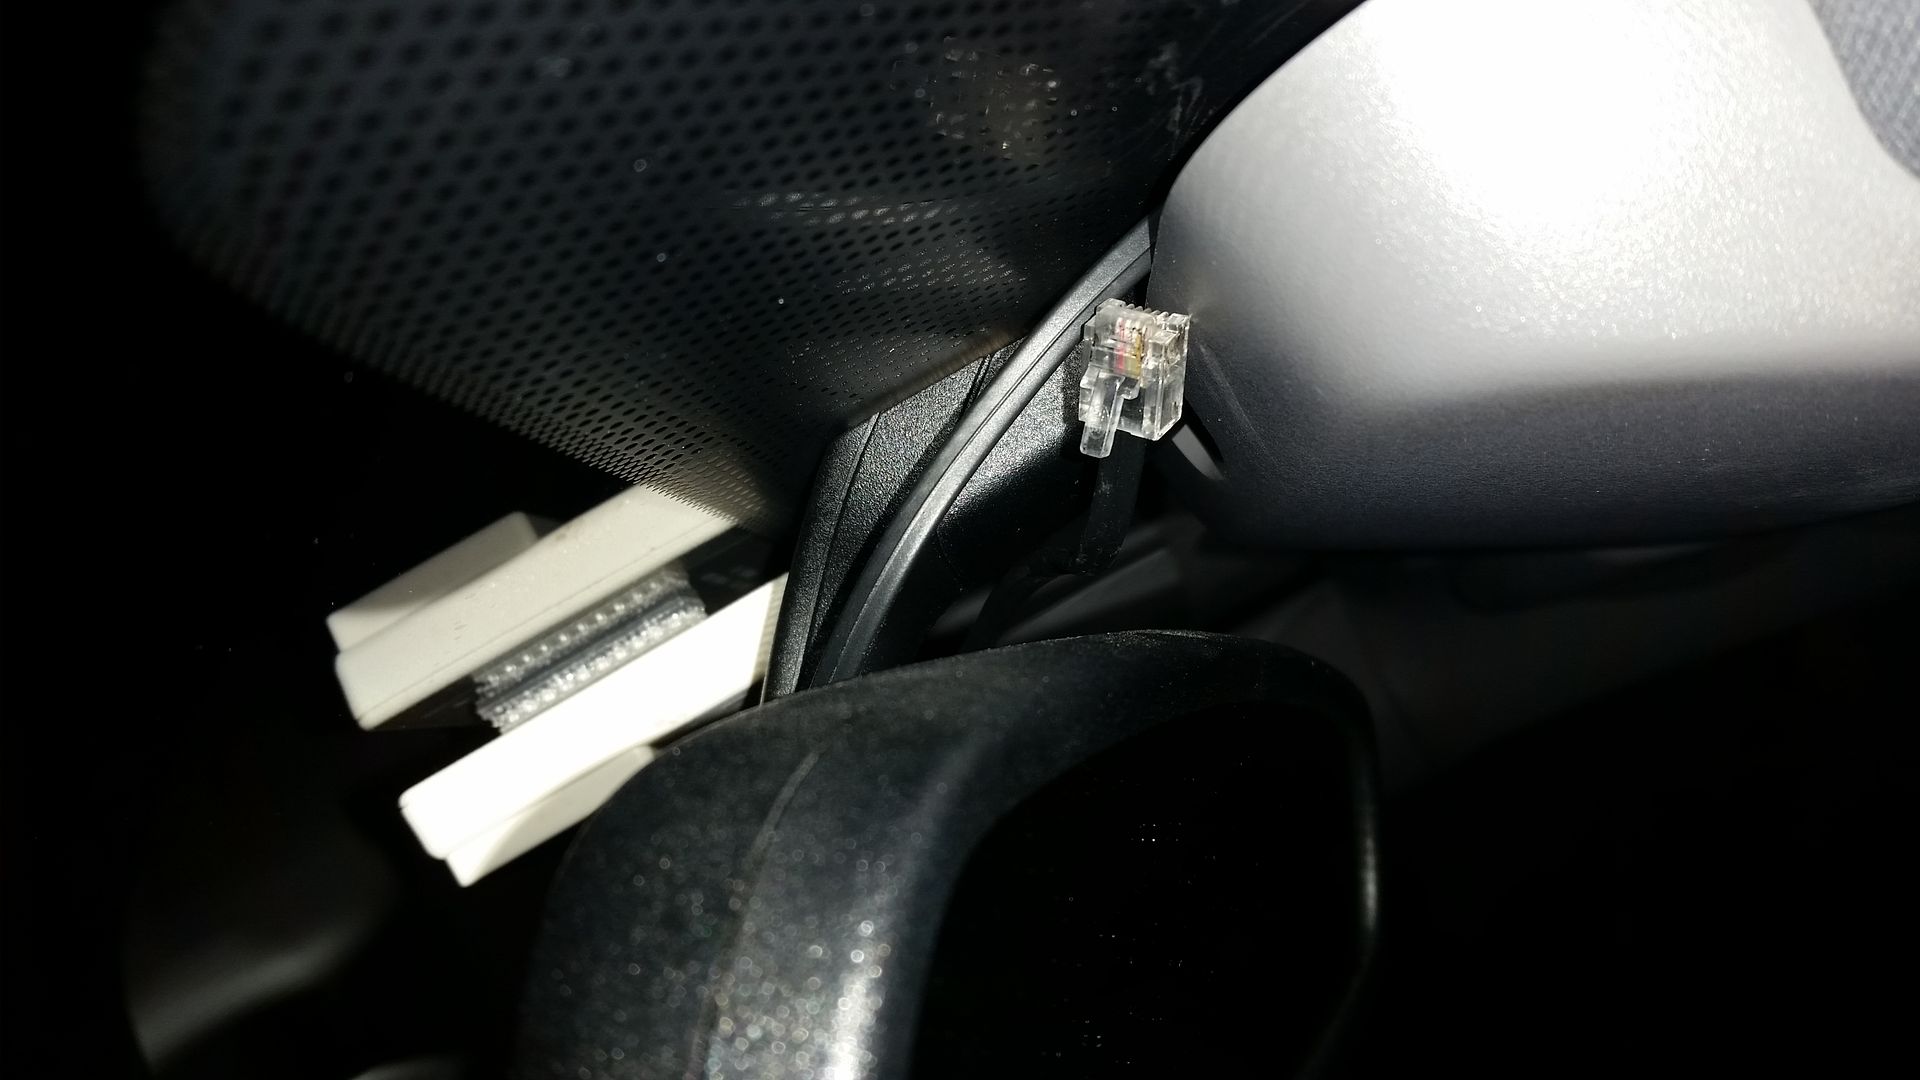
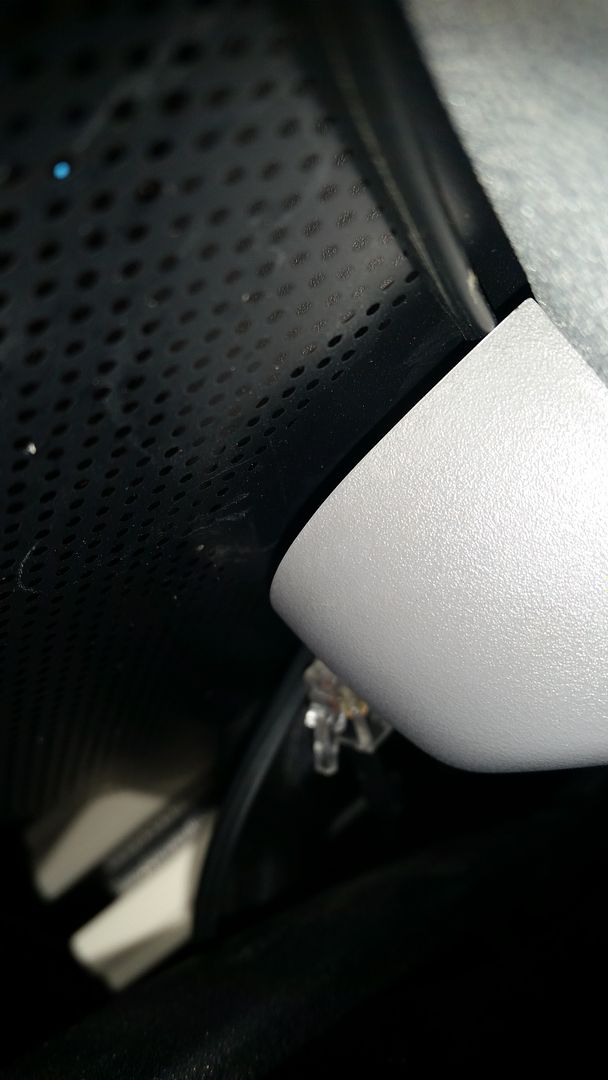
The cord has its own fuse as well (white section of the cord), which I tucked away behind the trim.
With that done I connected the unit and powered it up:
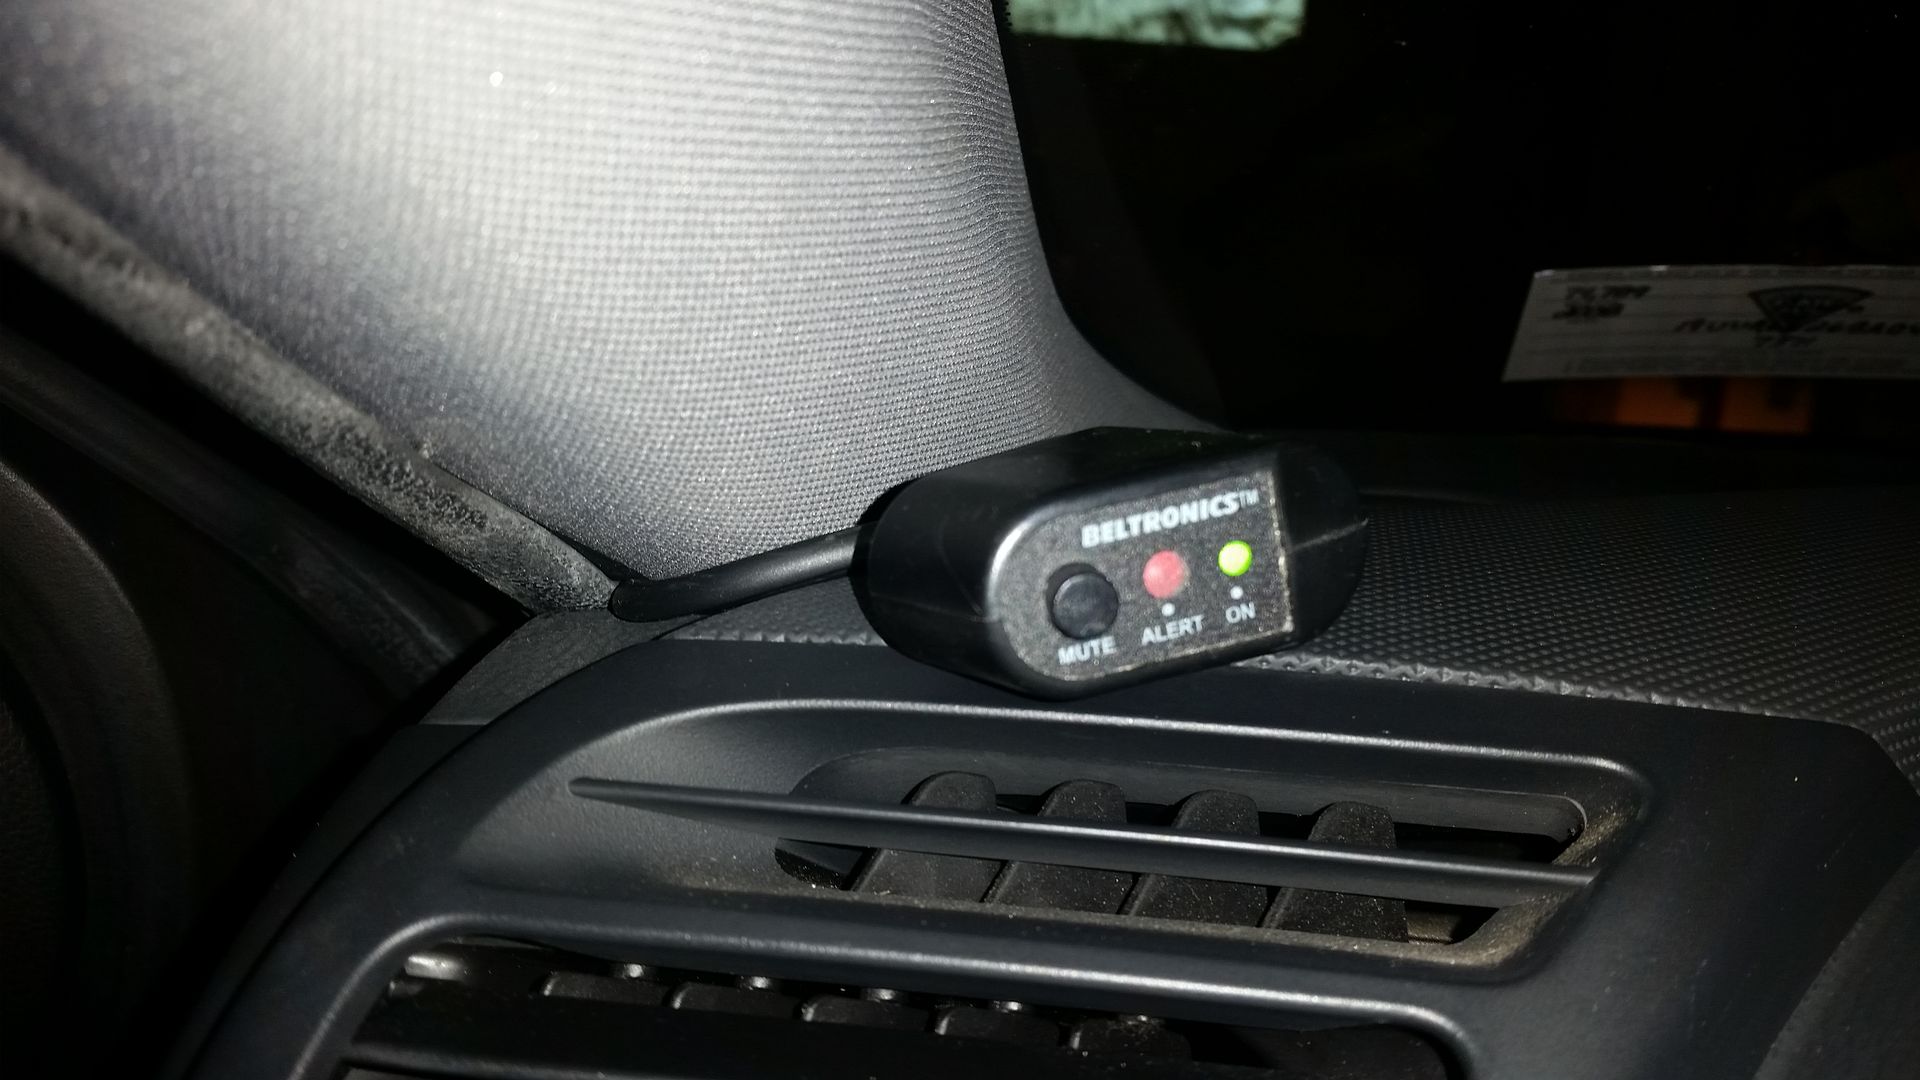
I played around with the location of the display once I had it working and the location is acceptable so I uesd a small piece of foam mounting tape to secure the display/mute housing.
Mounting:
[QUOTE=phenryiv1;15713487]More on the mounting of the unit:
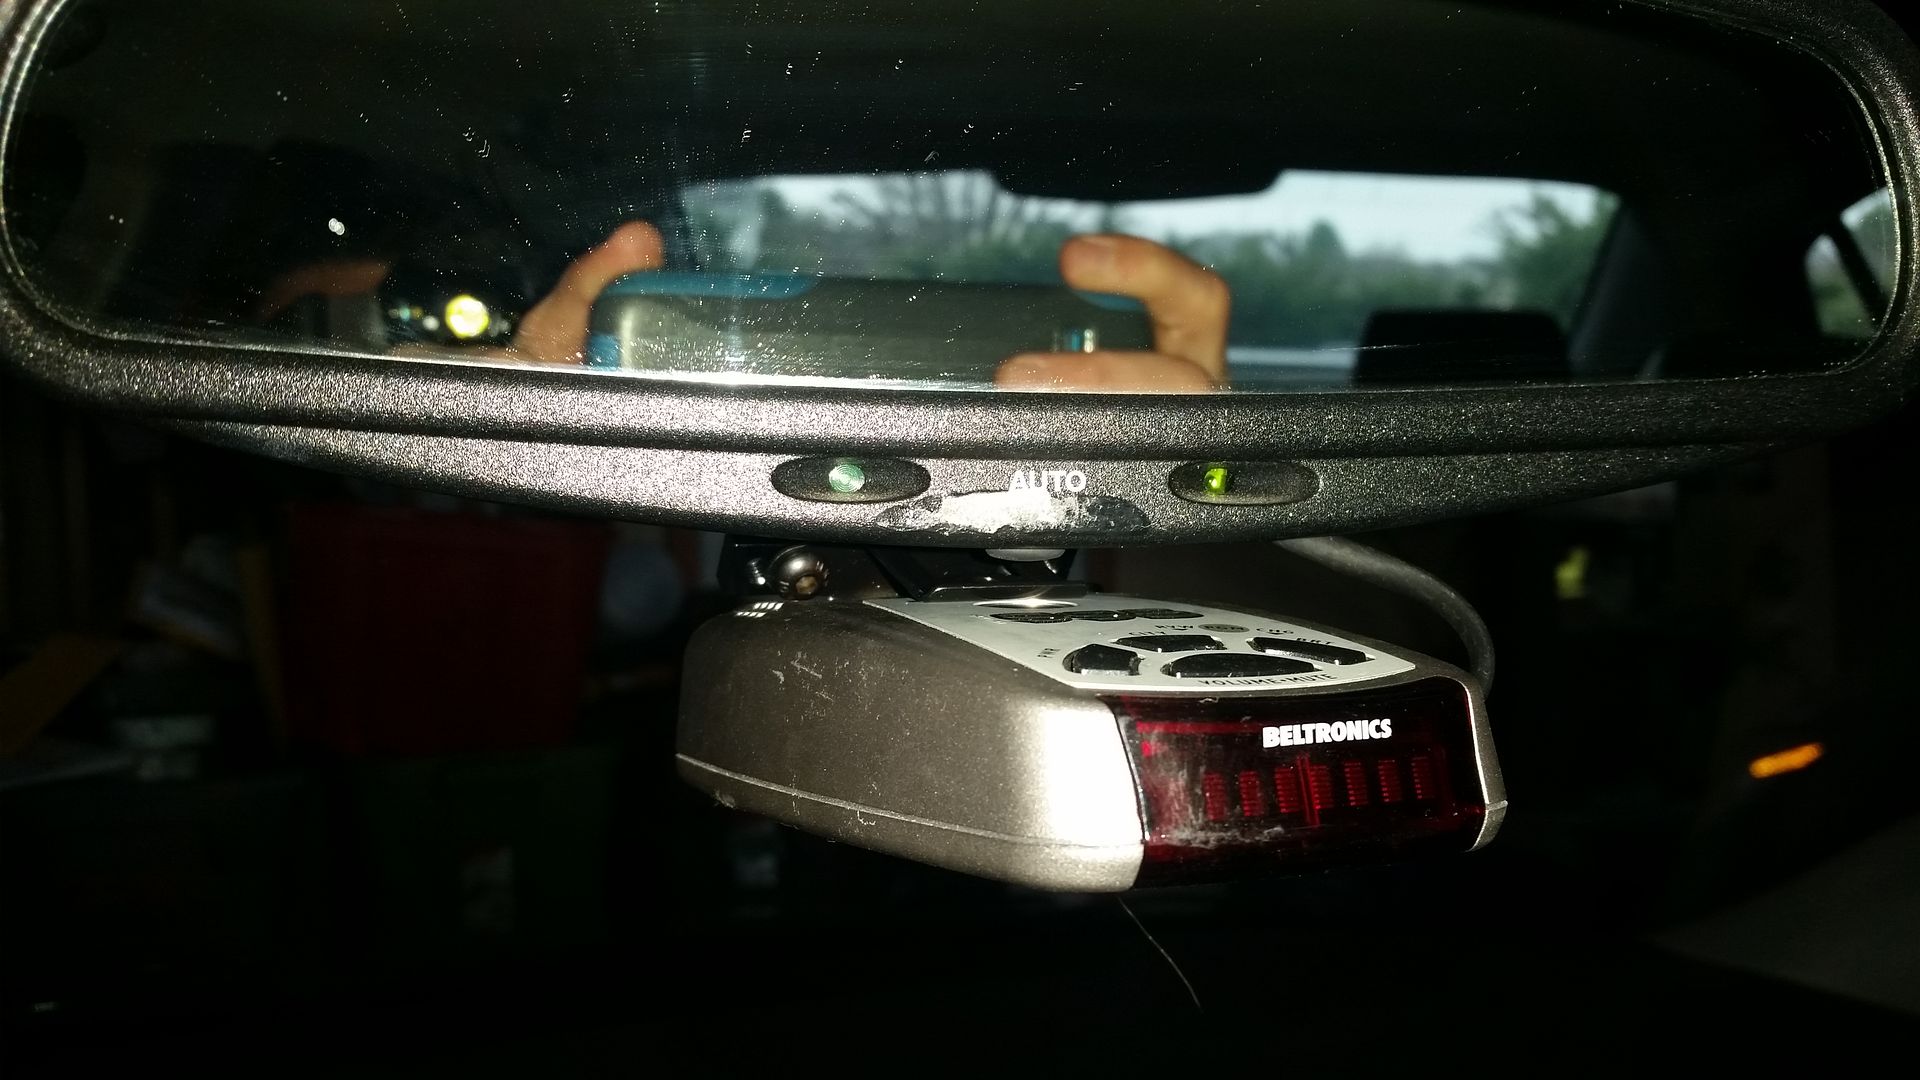
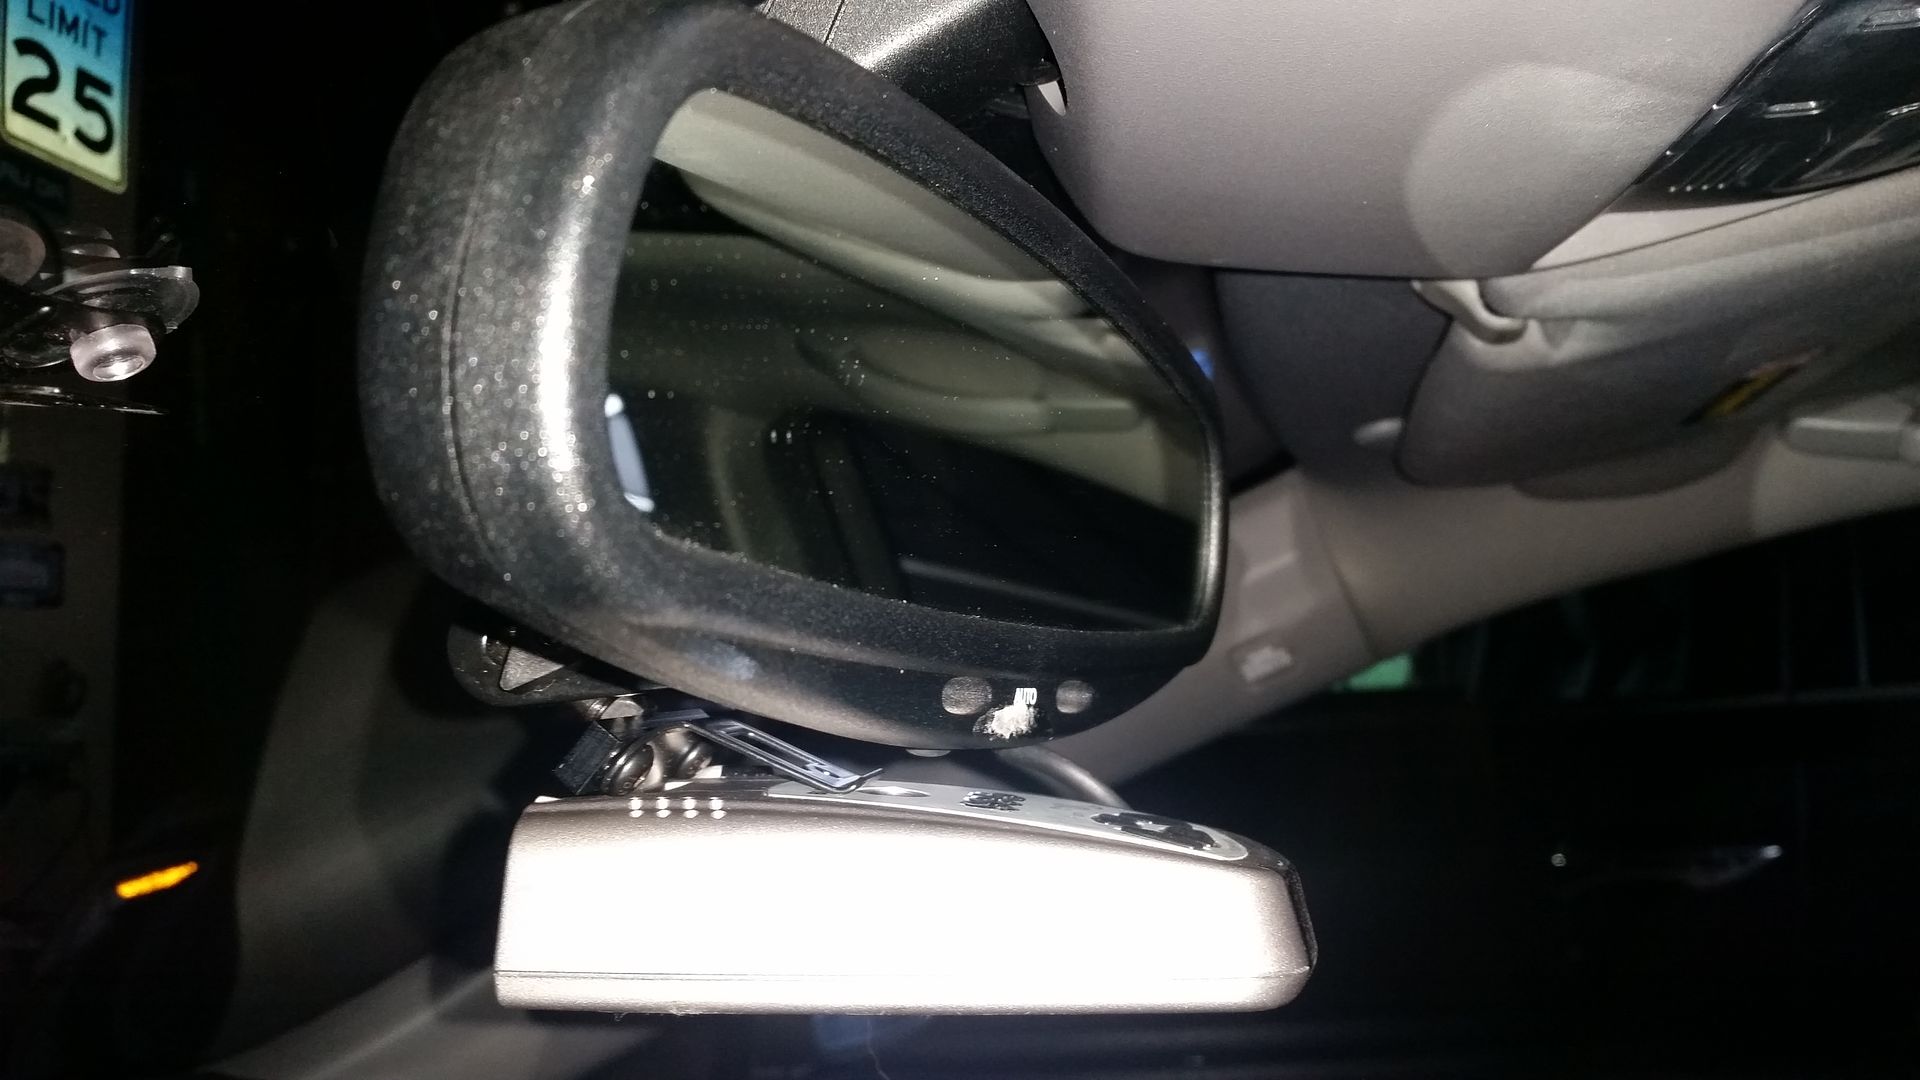
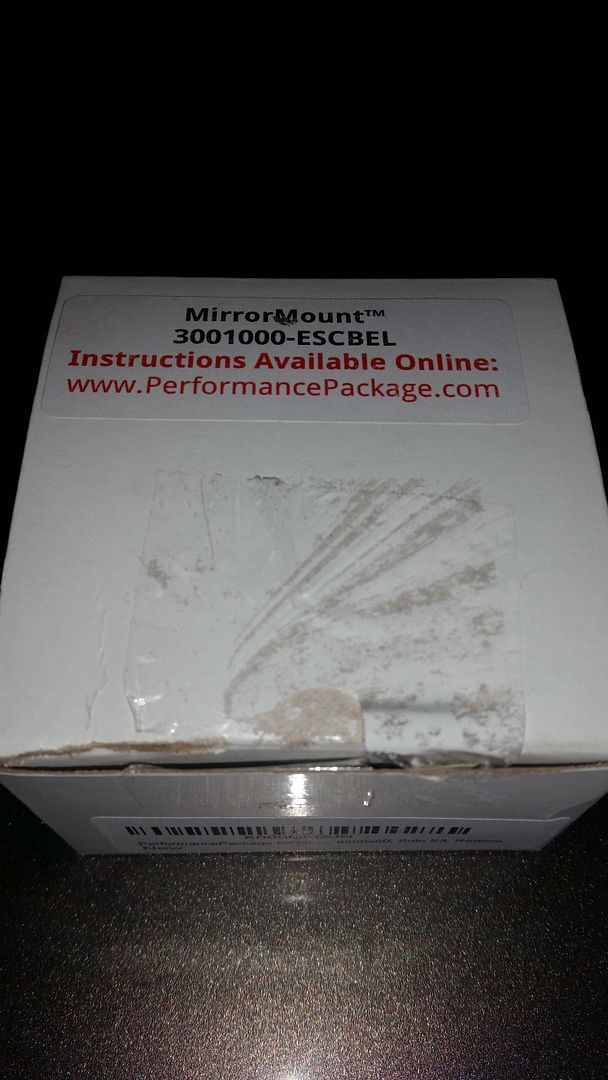
I purchased a MirrorMount from Amazon:
I hung the MirrorMount from the mirror stem:
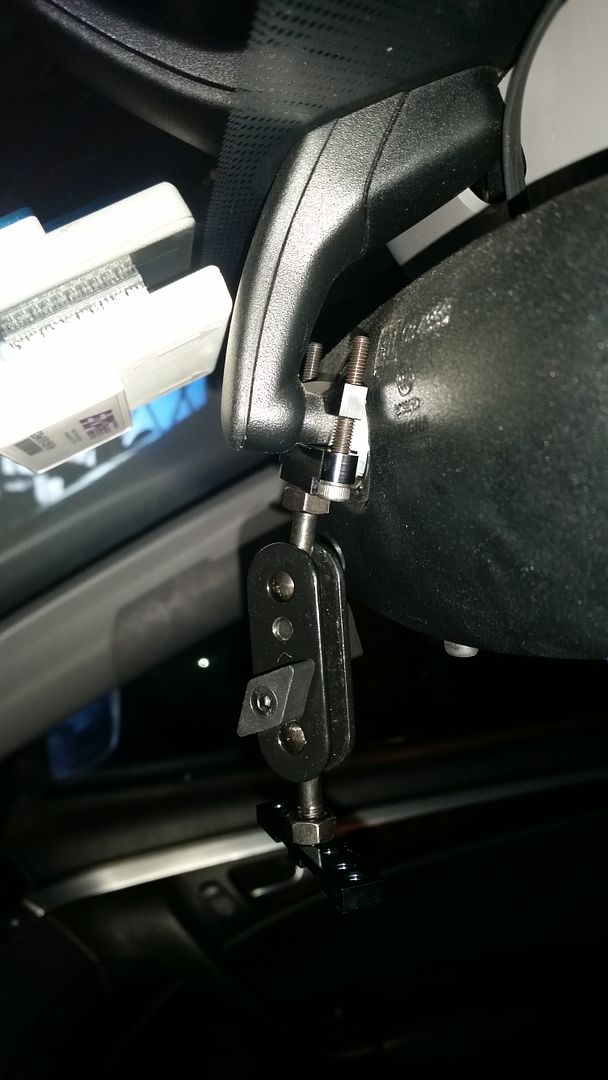
Then adjusted it so that it hung level:
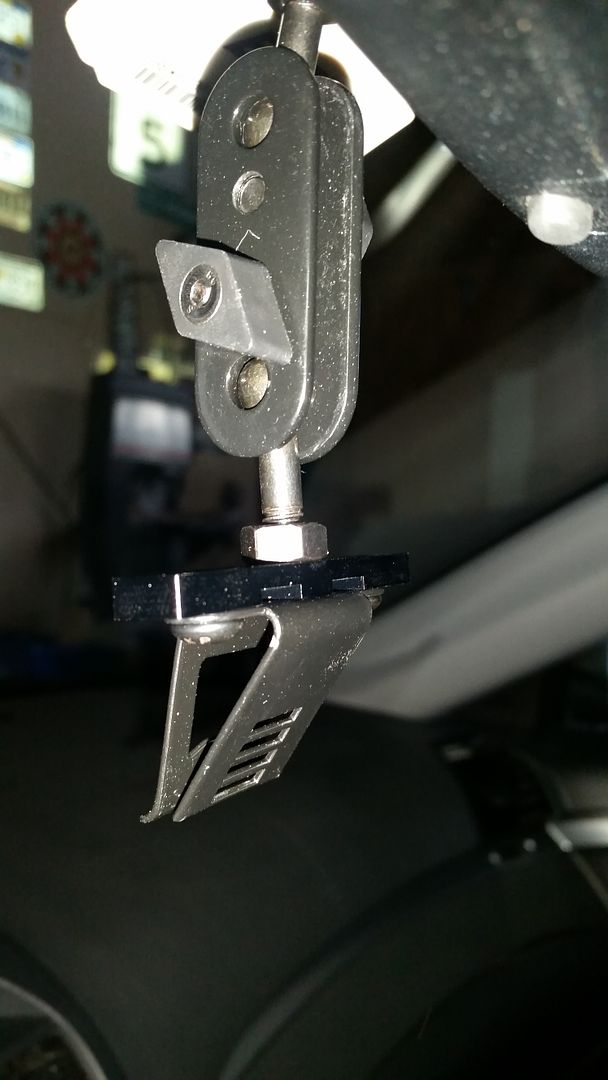
From there it tightens down with an (included) allen key. It is pretty simple to align it from there- attach the detector and use the 2 plastic wing nuts to tighten up the articulating arms so that the detector aims where you want it.
Final position is a little low but nothing crazy. The SmartCord wiring is tucked out of the way and I now have full front & rear view for detection. With the old location the rear detection capability was obstructed by the mirror itself.