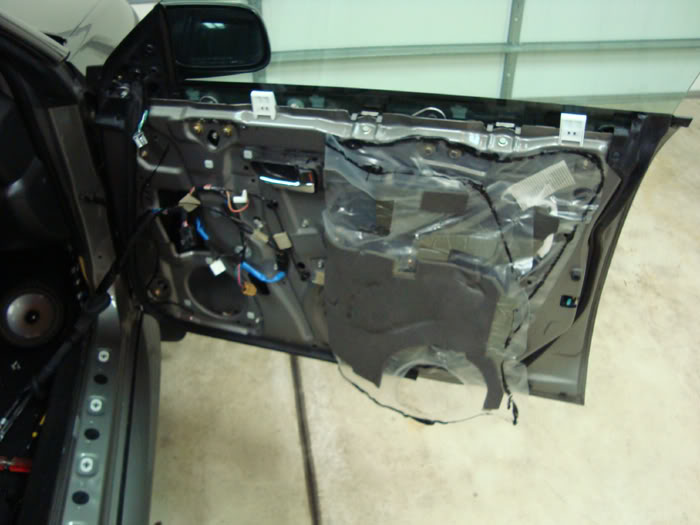
Credit JarHarms on NASIOC, who graciously permitted the use of his photos and concept:
Leave the window rolled UP to help gain access inside the door cavity.
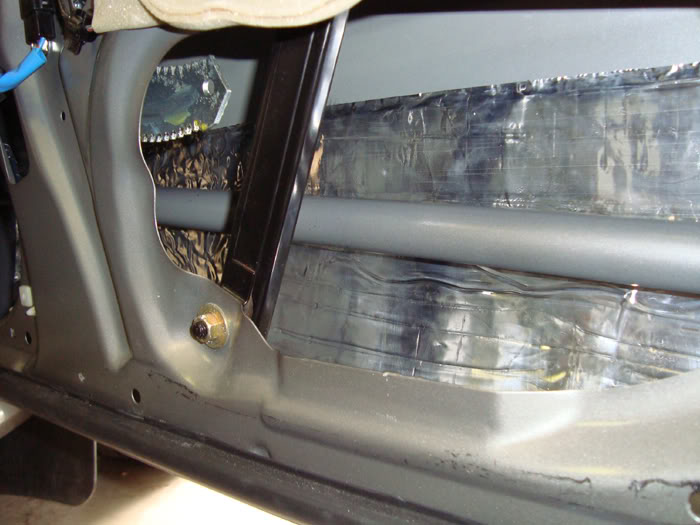
Notes: The owner of this Impreza only covered the lower 1/3 section of the outer door skin in attempt to reduce some road noise. He also used closed cell foam and other deadening products. While brand does matter, it is not as important as application technique.
There are some other tactics that he did not use that are in other guidance here on the site, but this is a pretty good guide to get you started.
One wooden roller tool may last longer than a few cheap plastic ones. Keep that in mind. The rounded handle end of a screwdriver also works well for small indentations and corners.
This installation used Ensolite and BXTII, but your material choice may differ.
Outer Door Skin
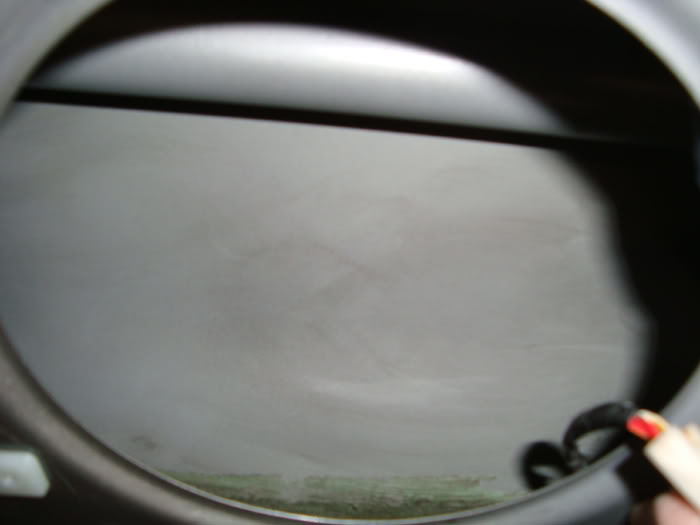
Clean the surface of any residue. Use GooGone, Windex with Vinegar, rubbing alcohol…pretty much any cleaner/degreaser. You will need lots of clean paper towels.
Depending on the size of your deadener and the shape of your door, do a rough estimation of the best way to lay out your deadener. Here, the owner cut one sheet in half with a razor knife and strait edge.
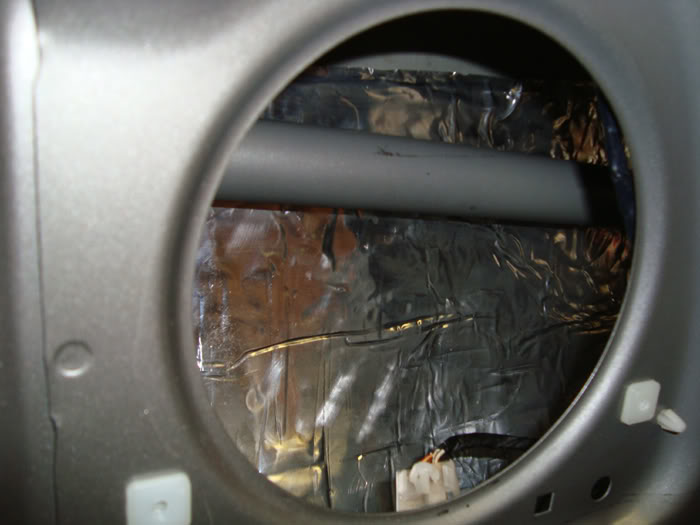
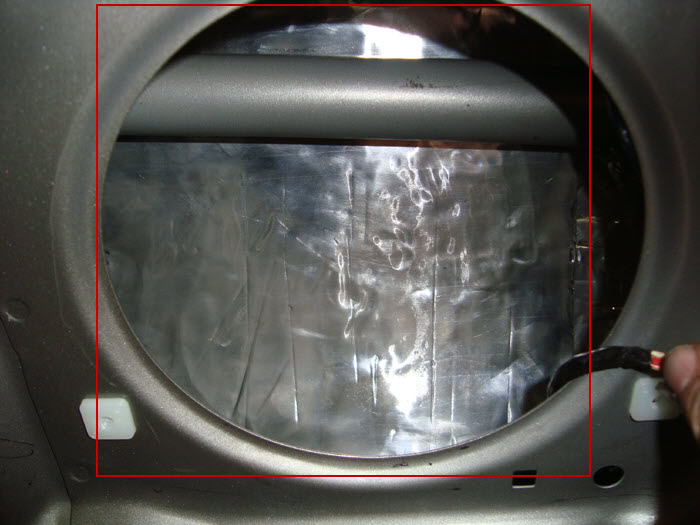
Place the first section of deadener behind the speaker opening. Keep the lower edge out of the bottom seam of the door- it could interfere with water draining out. Once in place press the deadener firmly into the outer skin to remove any air pockets. A small wallpaper roller helps with this.
Follow up with the next section of deadener to cover the rest of the bottom section of the outer skin. Make sure to slightly overlap the sections.
Another good idea is to cut another small section (about 7″ x 7″ or 8” x 8”) and place it just behind the speaker opening and on top of the first section of deadener. Keep in mind that your gap behind the safety bar is even tighter now.
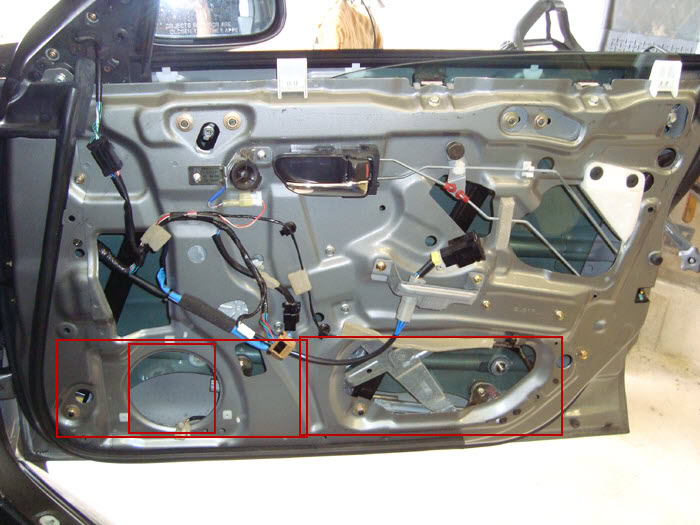
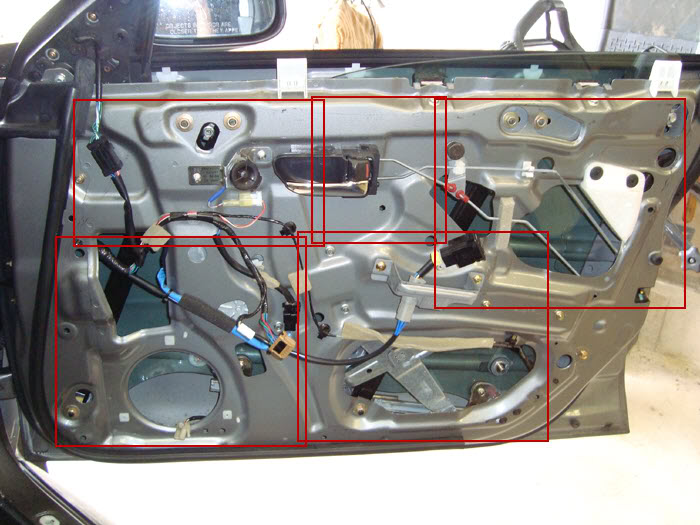
These red boxes outline the three sections of deadener added to the outer skin.
At this point, you might want to tape the upper and vertical edges with aluminized HVAC tape. DO NOT TAPE THE BOTTOM EDGES.
Cut two pieces of closed cell foam, ensolite, etc. about 9″ x 15″.
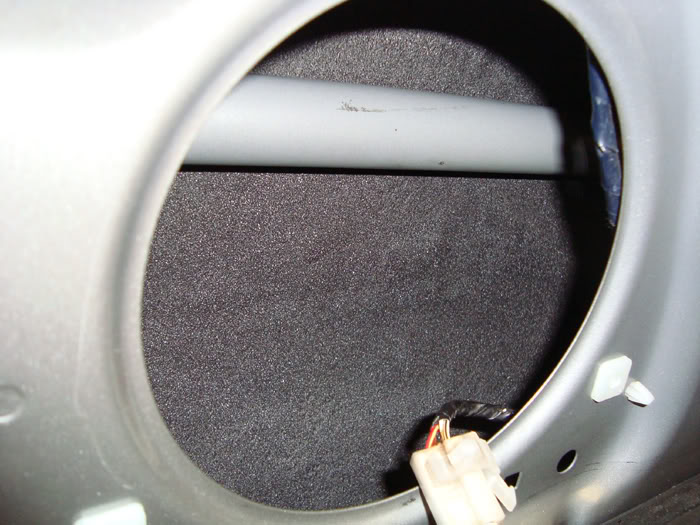
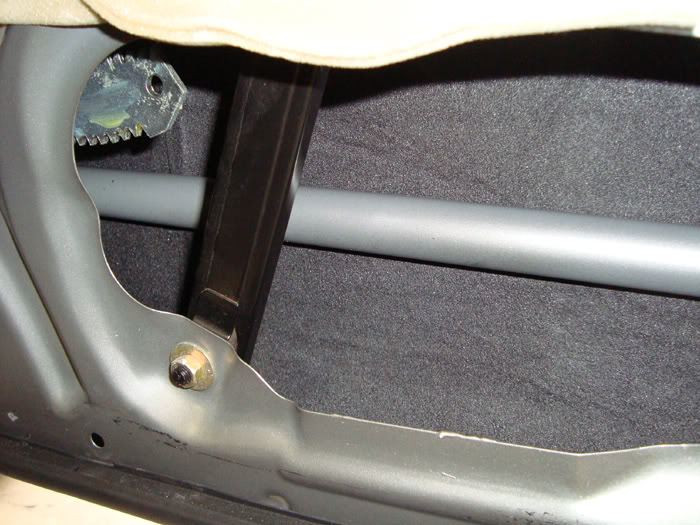
Place the first piece of CCF over the deadener and press firmly so the adhesive sticks.
This just shows about the area my seams are located. It would depend on what size pieces you are using.
Follow up with the second piece and slightly overlap the seams.
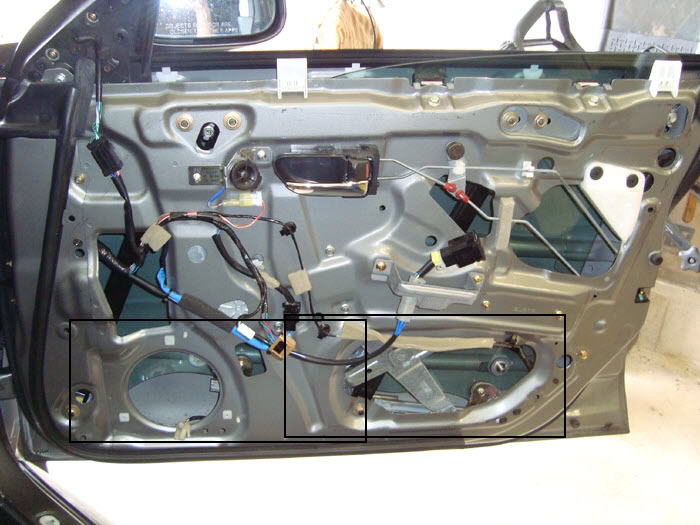
Basically these black boxes outline the two sections of CCF added to the outer skin and over the deadener.
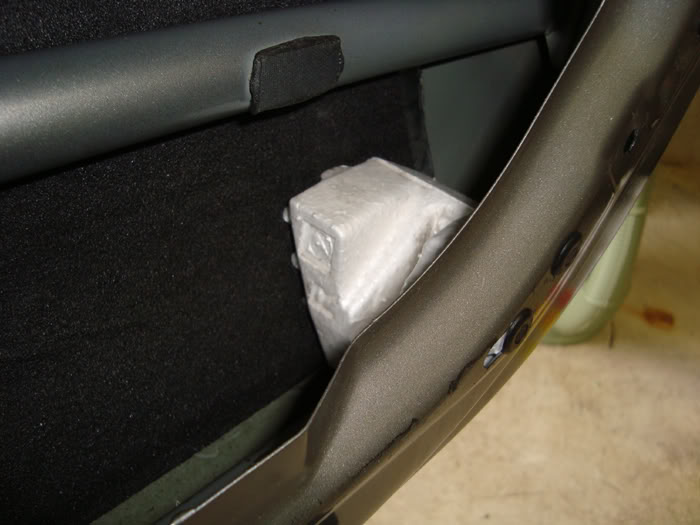
Replace the any Styrofoam that you might have removed.
Inner Door Skin
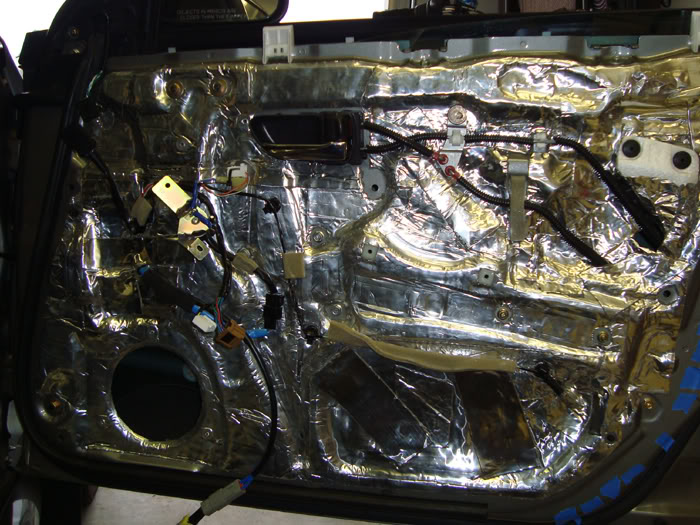
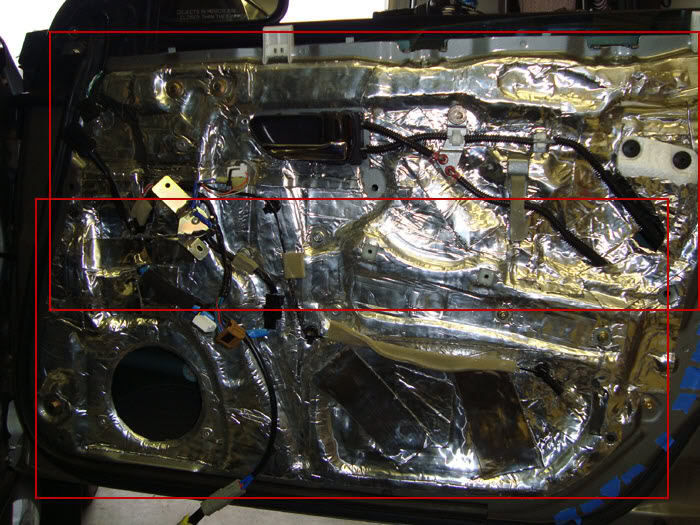
The deadener used here comes in 15″x15″ squares so it has to be pieced together somewhat. The red boxes show the general placement used while making sure to overlap the seams.
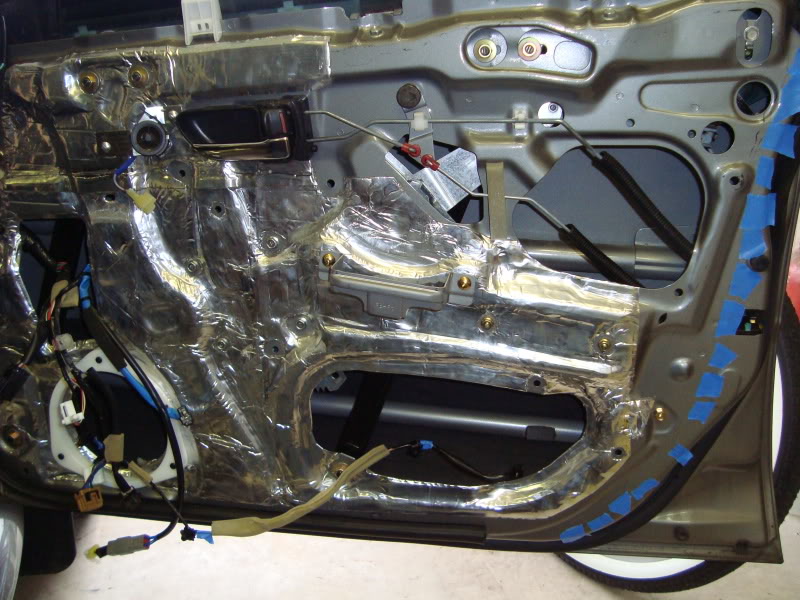
Heck almost 1/2 done. The blue tape is just a marker of where the door panel edge is.
“Full” coverage.
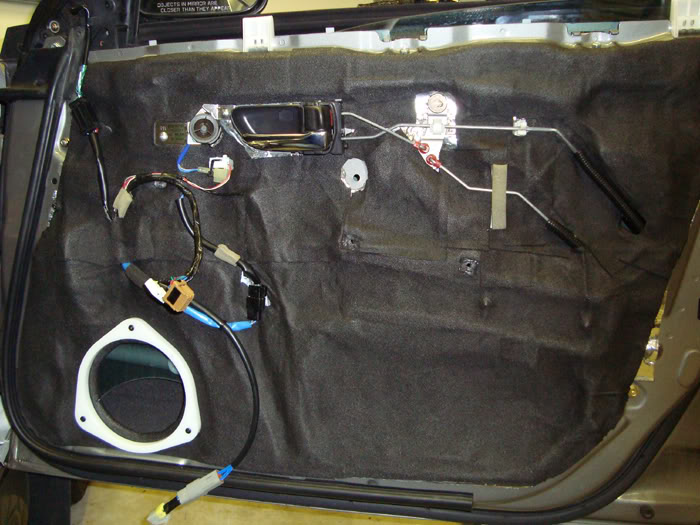
You can split up the CCF application into sections. Here the owner used two sections approx 12″ x 30″ to allow for better manipulation. The two red boxes represent the sections used.
Starting at the bottom and line up the CCF pressing it onto the deadener as you go.
Again, here is where the HVAC taping would be a good idea, particularly if you use the Frost King or some other foam-skinned CCF.
Next:
Mark holes that will need to be cleared with screwdriver or pick.
Reinstall the door pull.
Install the speaker spacer following the directions here:
http://www.subaruaudio.net/tools-and-how-to/directions/

